
Installation
Previous | Next
This section outlines how to install and uninstall Hamilton C shell.
If you encounter problems, consult the section on common problems or contact us for support.
System requirements
Hamilton C shell will install and run on any 32-bit or 64-bit version of Windows or Windows Server, including Vista and Windows 7, 8, 10 or 11.
Roughly 32M of disk space is required. Most of that is for the user guide.
Installation procedure
Simply double-click to open the Hamilton C shell installer .msi file.
Hamilton C shell uses the standard Microsoft installer to ensure an easy, automated install and a complete uninstall. There are no manual steps to copy files or create shortcuts.
Hamilton C shell does not use any registry keys except just the ones the installer creates so that the Control Panel’s Add or Remove Programs applet can do a clean uninstall.
You will be prompted to accept the End-User License Agreement, to confirm the directory where the program files should be installed, and choose whether this installation is for just for you or for all users.
Uninstallation
To completely remove Hamilton C shell from your machine, use the Control Panel's Add or Remove Programs applet. Hamilton C shell is very well-behaved: Anything created during the installation (registry keys, shortcuts, etc.) will be totally removed.
Previous | Next
Digitally signed Windows install file
Hamilton C shell is distributed as a digitally signed Windows installer .msi file. You can examine the signature by right-clicking and selecting Properties.
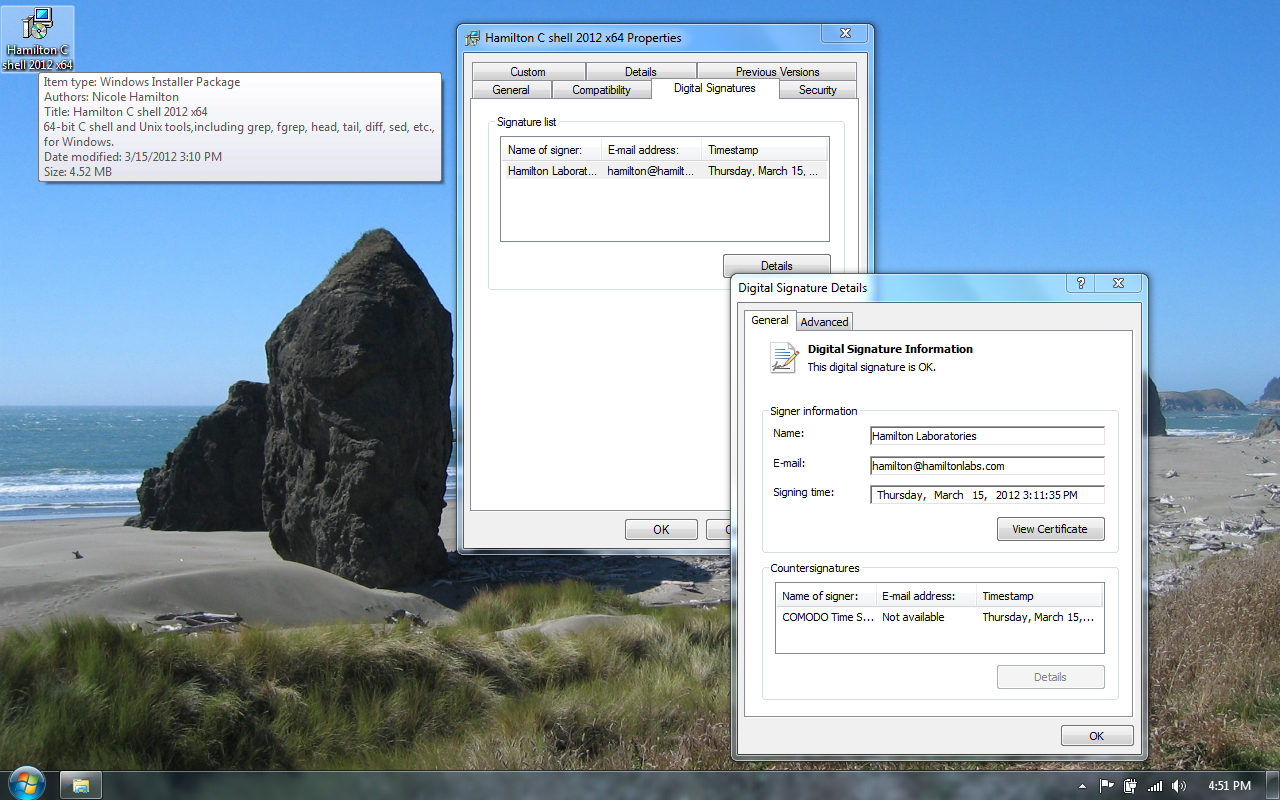
Here's a close-up of the signature details popup. The digital signature lets you verify the authenticity, even before you start the install.
Double-click to install
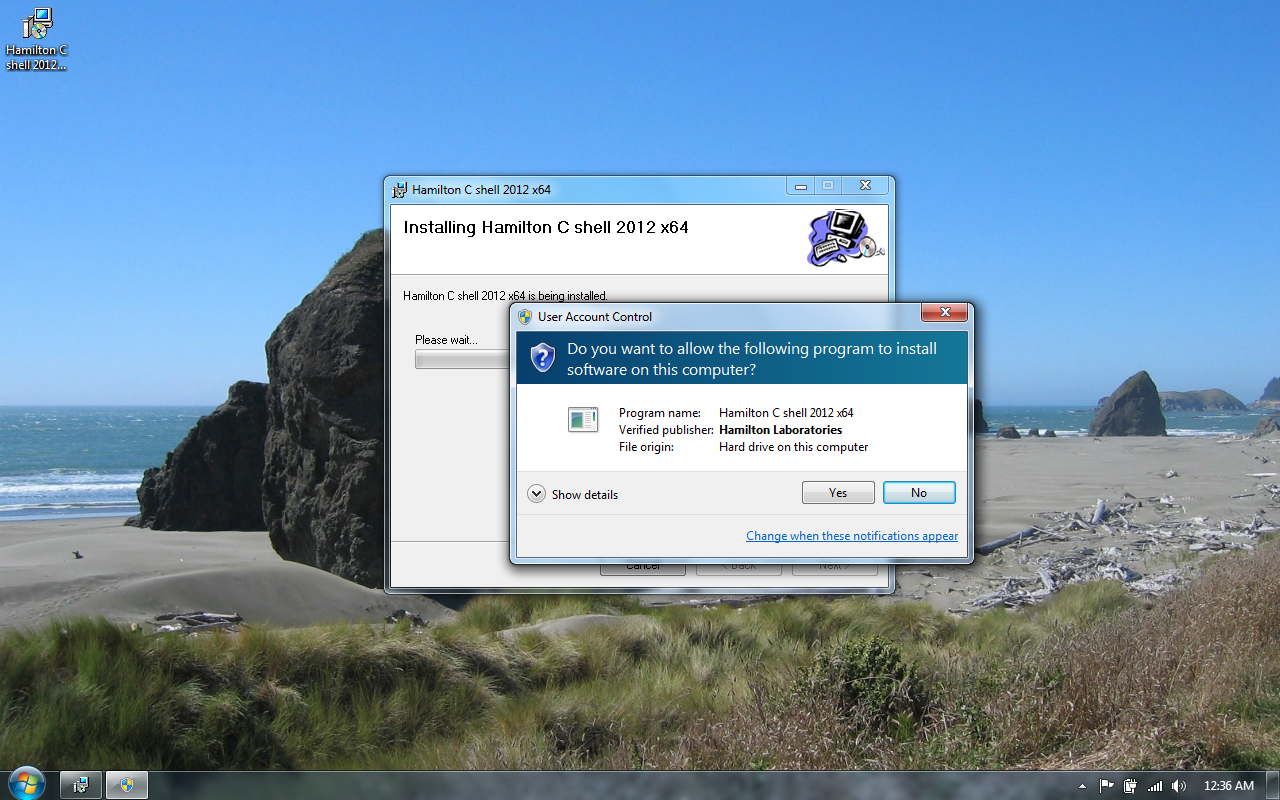
Double-clicking the .msi file starts the installation and immediately triggers User Account Control.
Popups you'll see during the installation
1. User Account Control. Our signature allows UAC to verify that the install file is really ours and hasn't been tampered with.
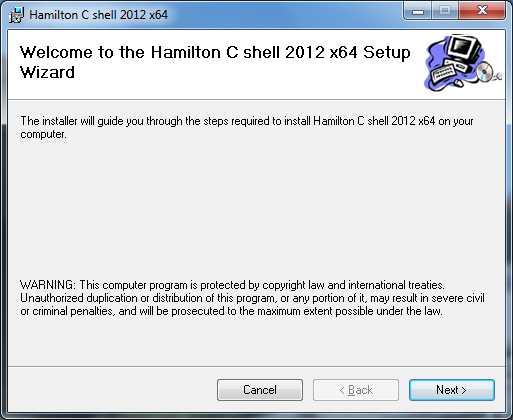
2. Welcome to the Hamilton C shell 2012 x64 Setup Wizard.
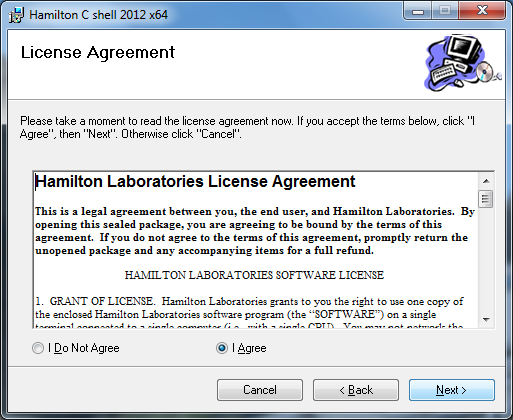
3. Accept the license agreement.
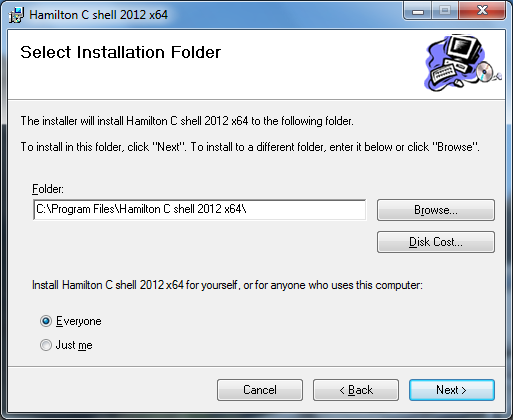
4. Choose the installation folder and whether it's for everyone, meaning it'll appear in the Start menus for all users, or just for yourself.
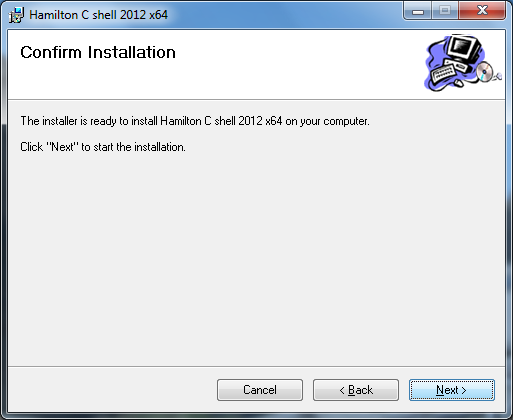
5. Confirm that you'd like to procede.
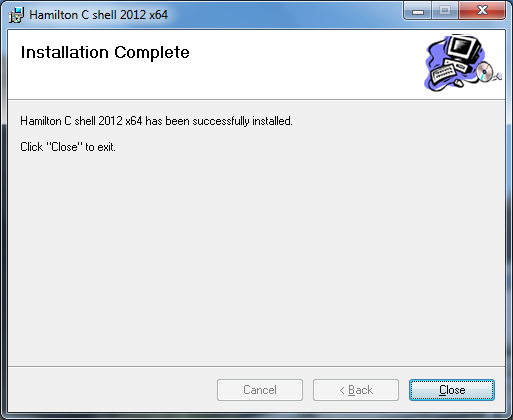
6. Installation complete.
When it's done, you'll be left with a shortcut on your desktop.
